Dynamically create infographics using n8n
Overview
Learn how to dynamically create infographics using this simple but powerful n8n workflow.
Dynamic infographic automation Flow
How to recreate this automation
Resources
Step 1: Create an n8n workflow
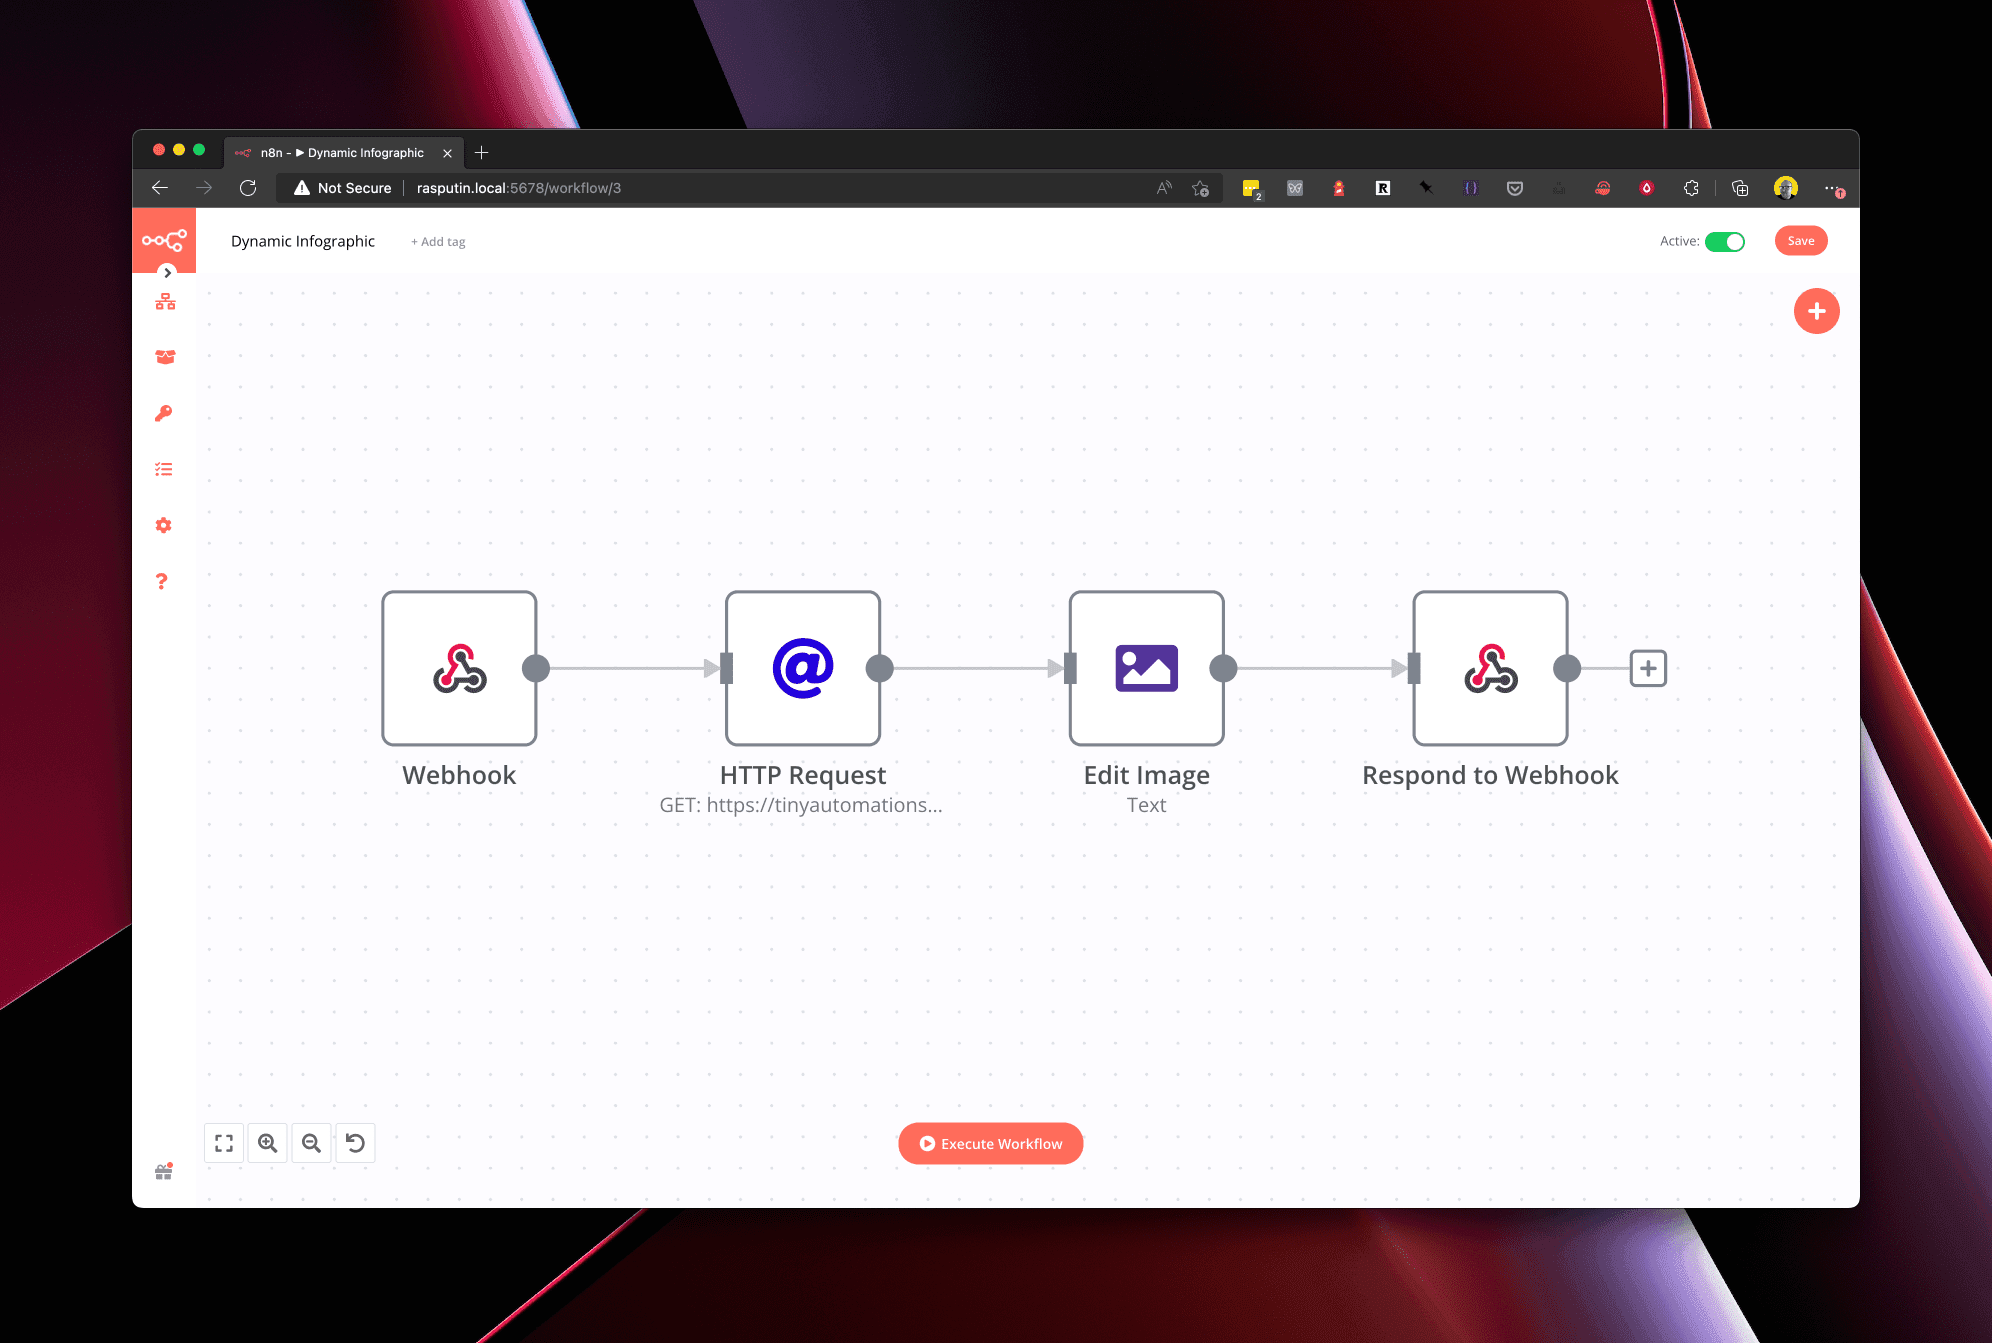
Create a new workflow in n8n. Your final workflow will end up looking like this:
Step 2: Create a webhook node
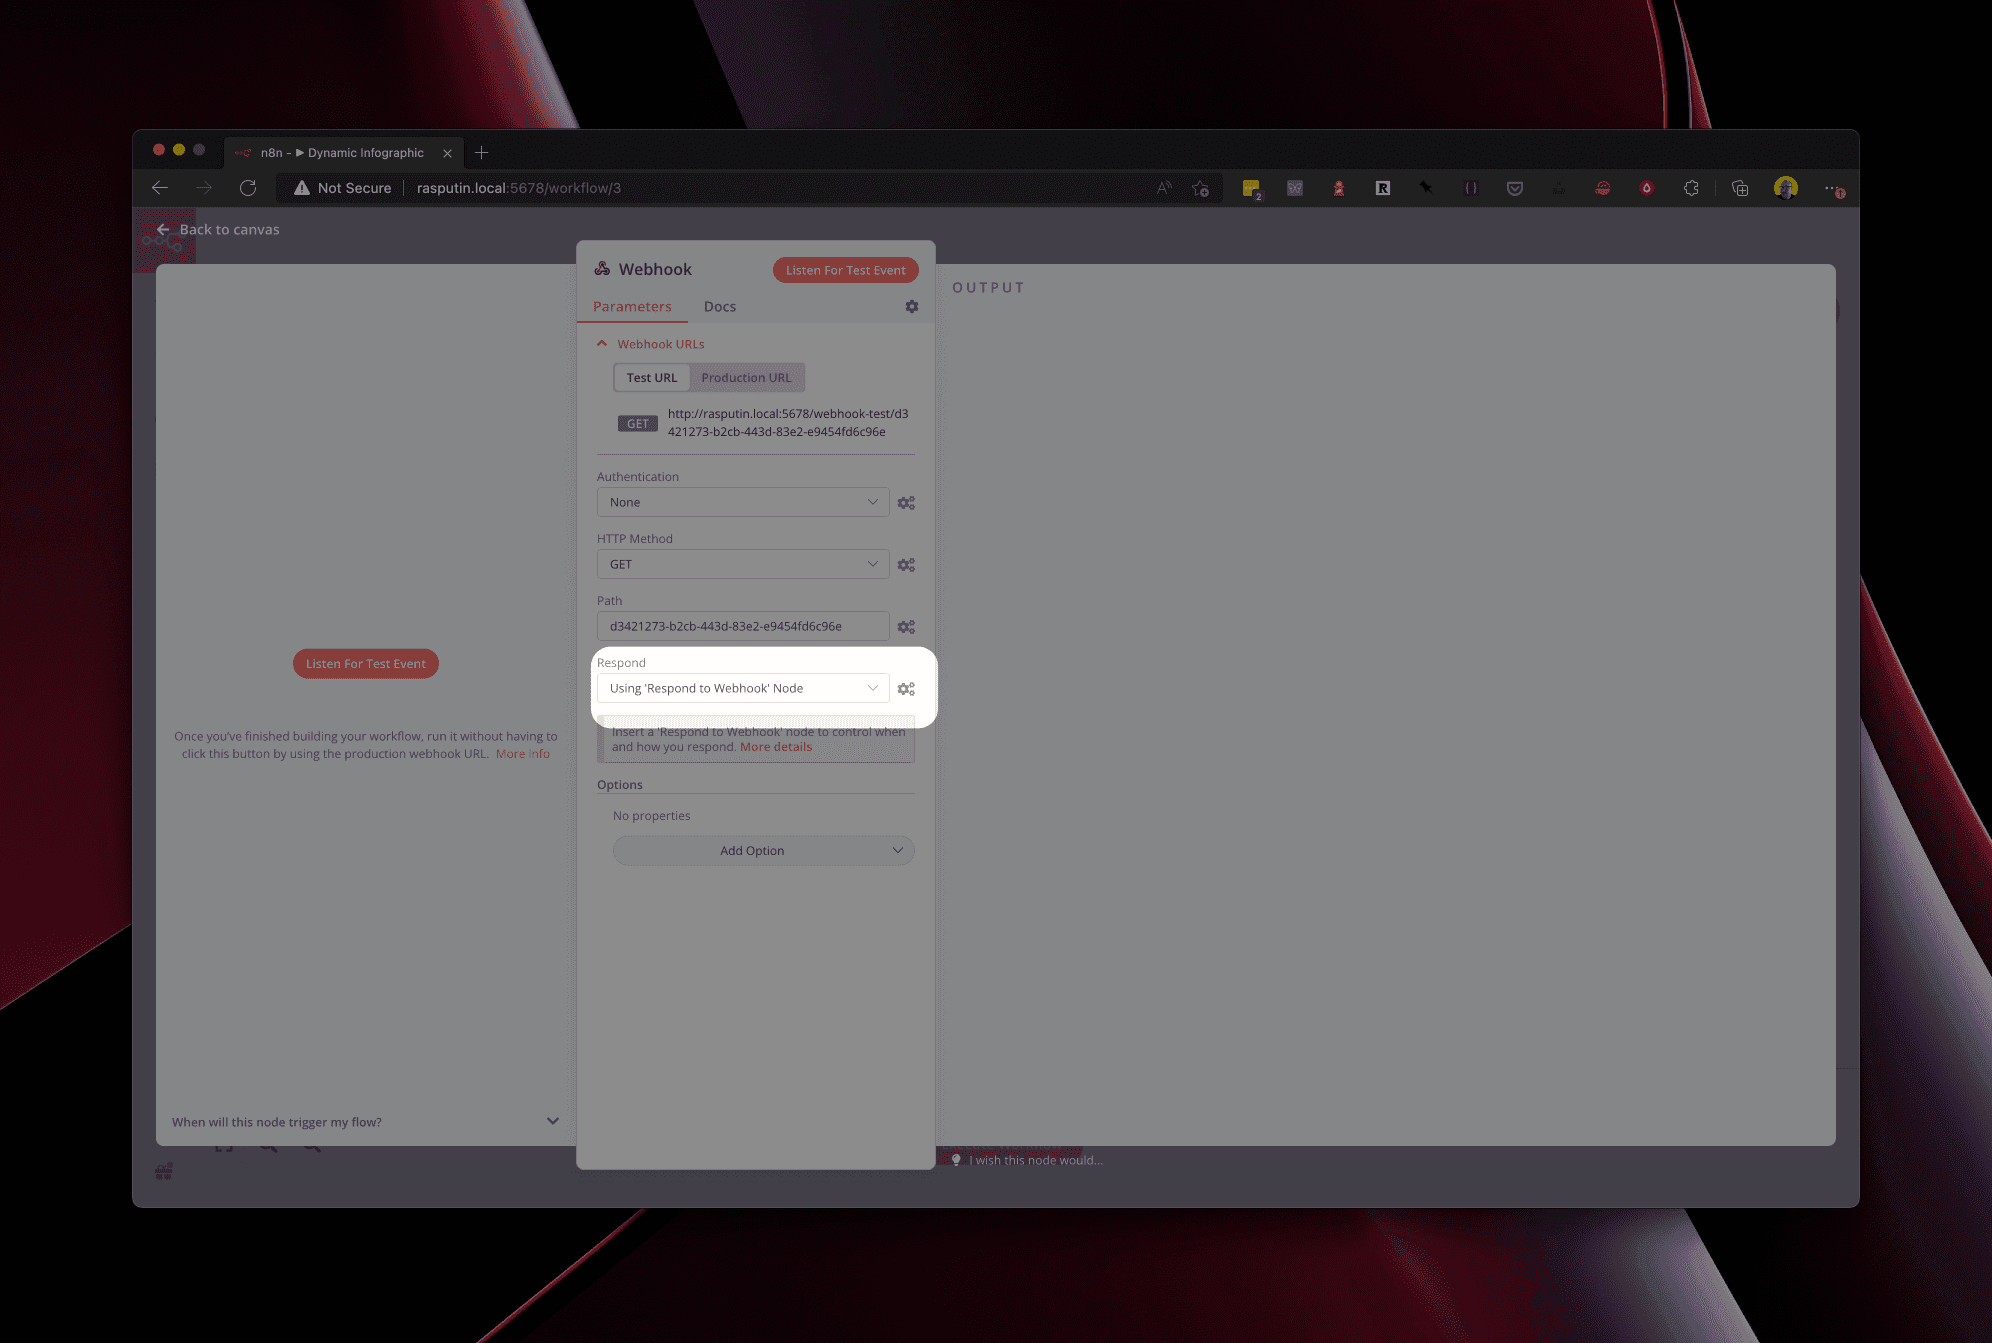
In your n8n workflow create a webhook node - make sure that the you are responding with the Respond to Webhook node in the settings. This makes sure that the whole workflow will get executed before returning the modified image.
When you call this webhook via its URL you can use a querystring parameter to pass in data. If your Webhook node URL is http://n8n.io/webhook/my-webhook-url you can add a querystring parameter like this: http://n8n.io/webhook/my-webhook-url?stat=1900 (here it is named stat as this is what we use in the video tutorial). You can then use this stat variable later when we edit the image.
Step 3: Get the image template
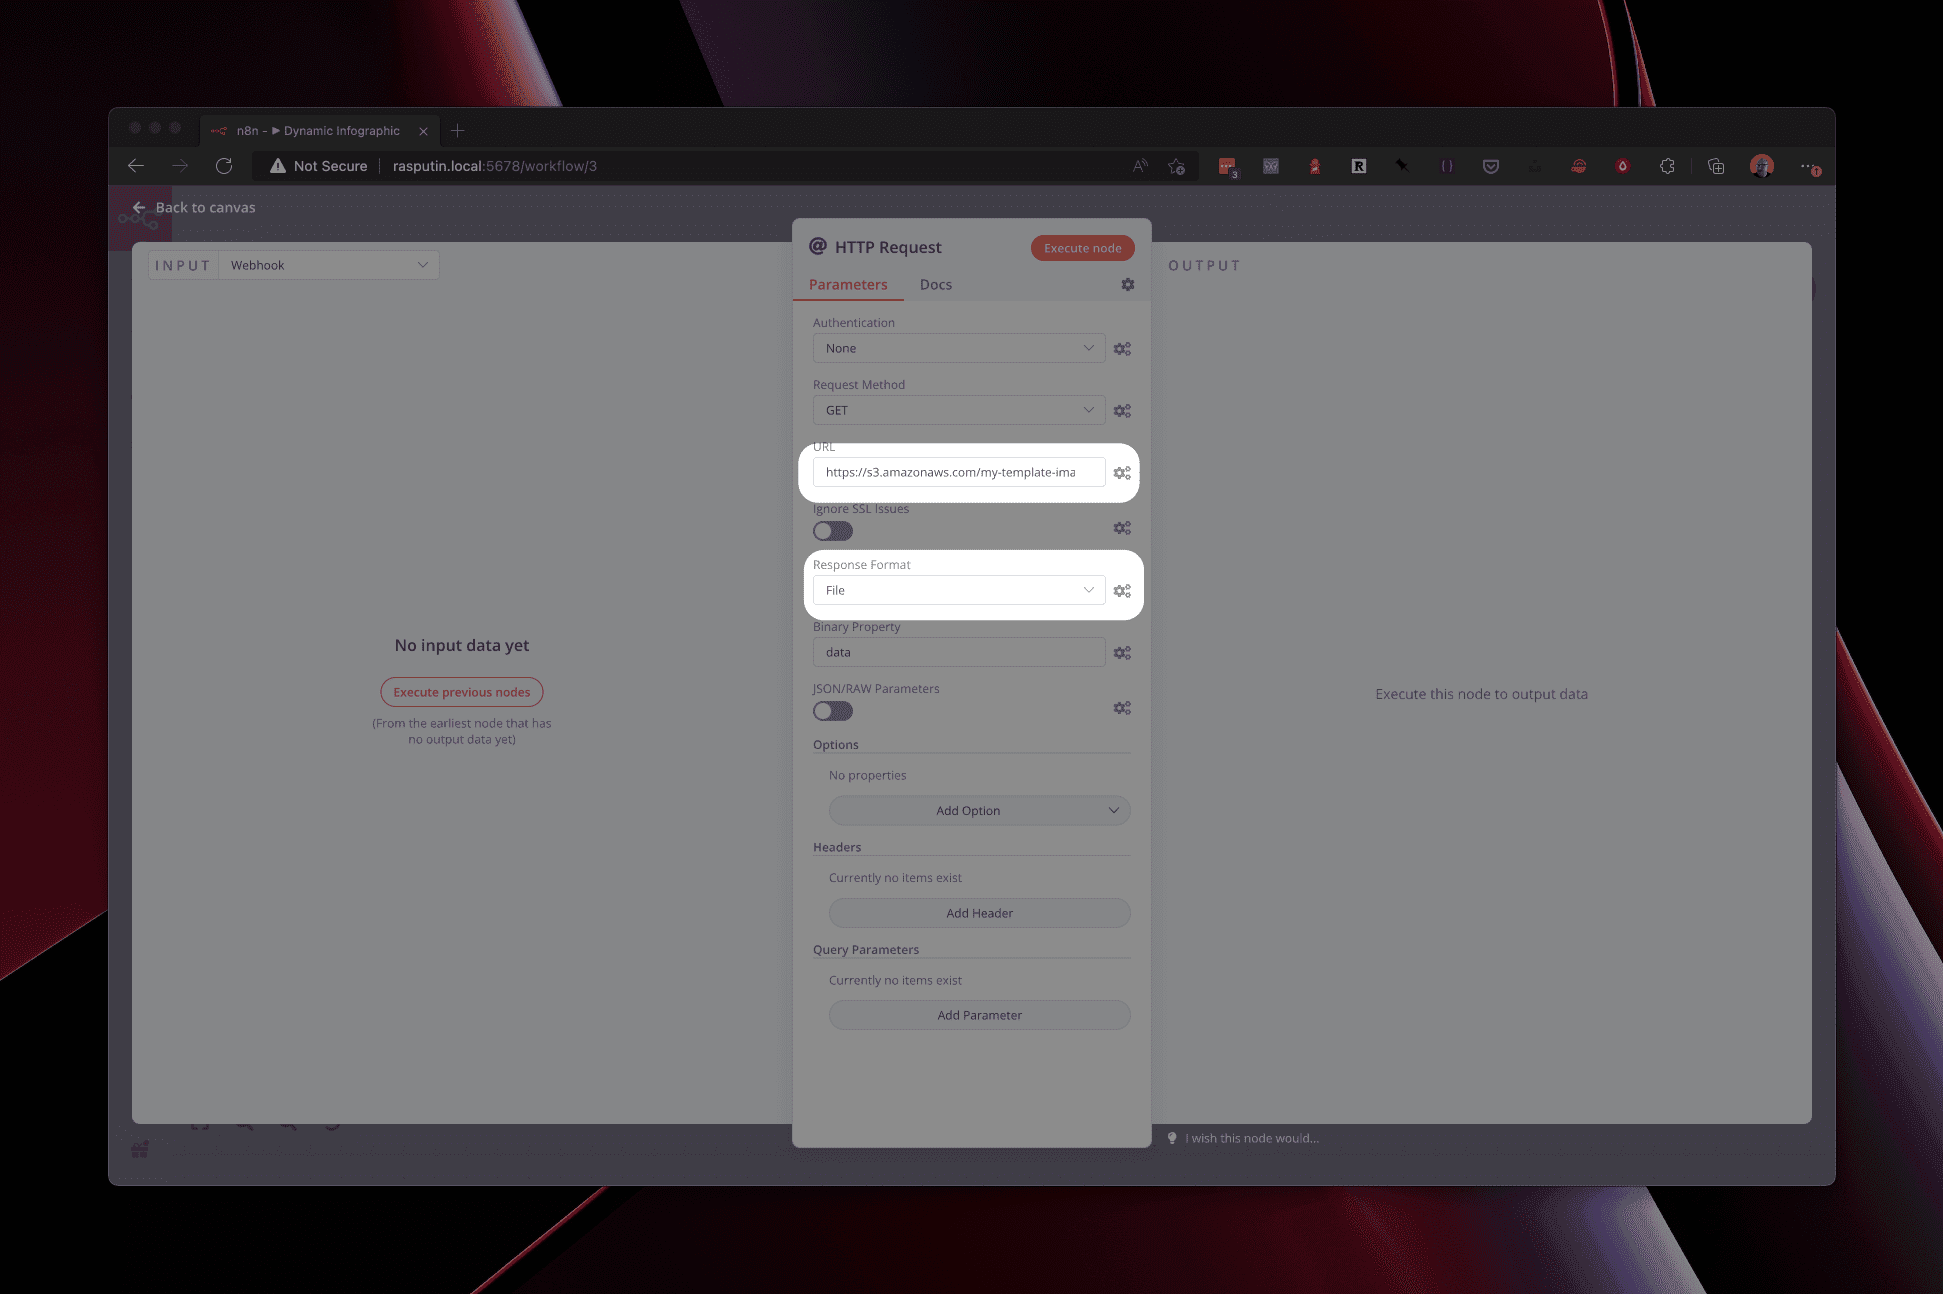
Use a HTTP Request node to load the image template. Update the URL input to the URL of your template image and change the Response Format to File.
Step 4: Dynamically add text to the image
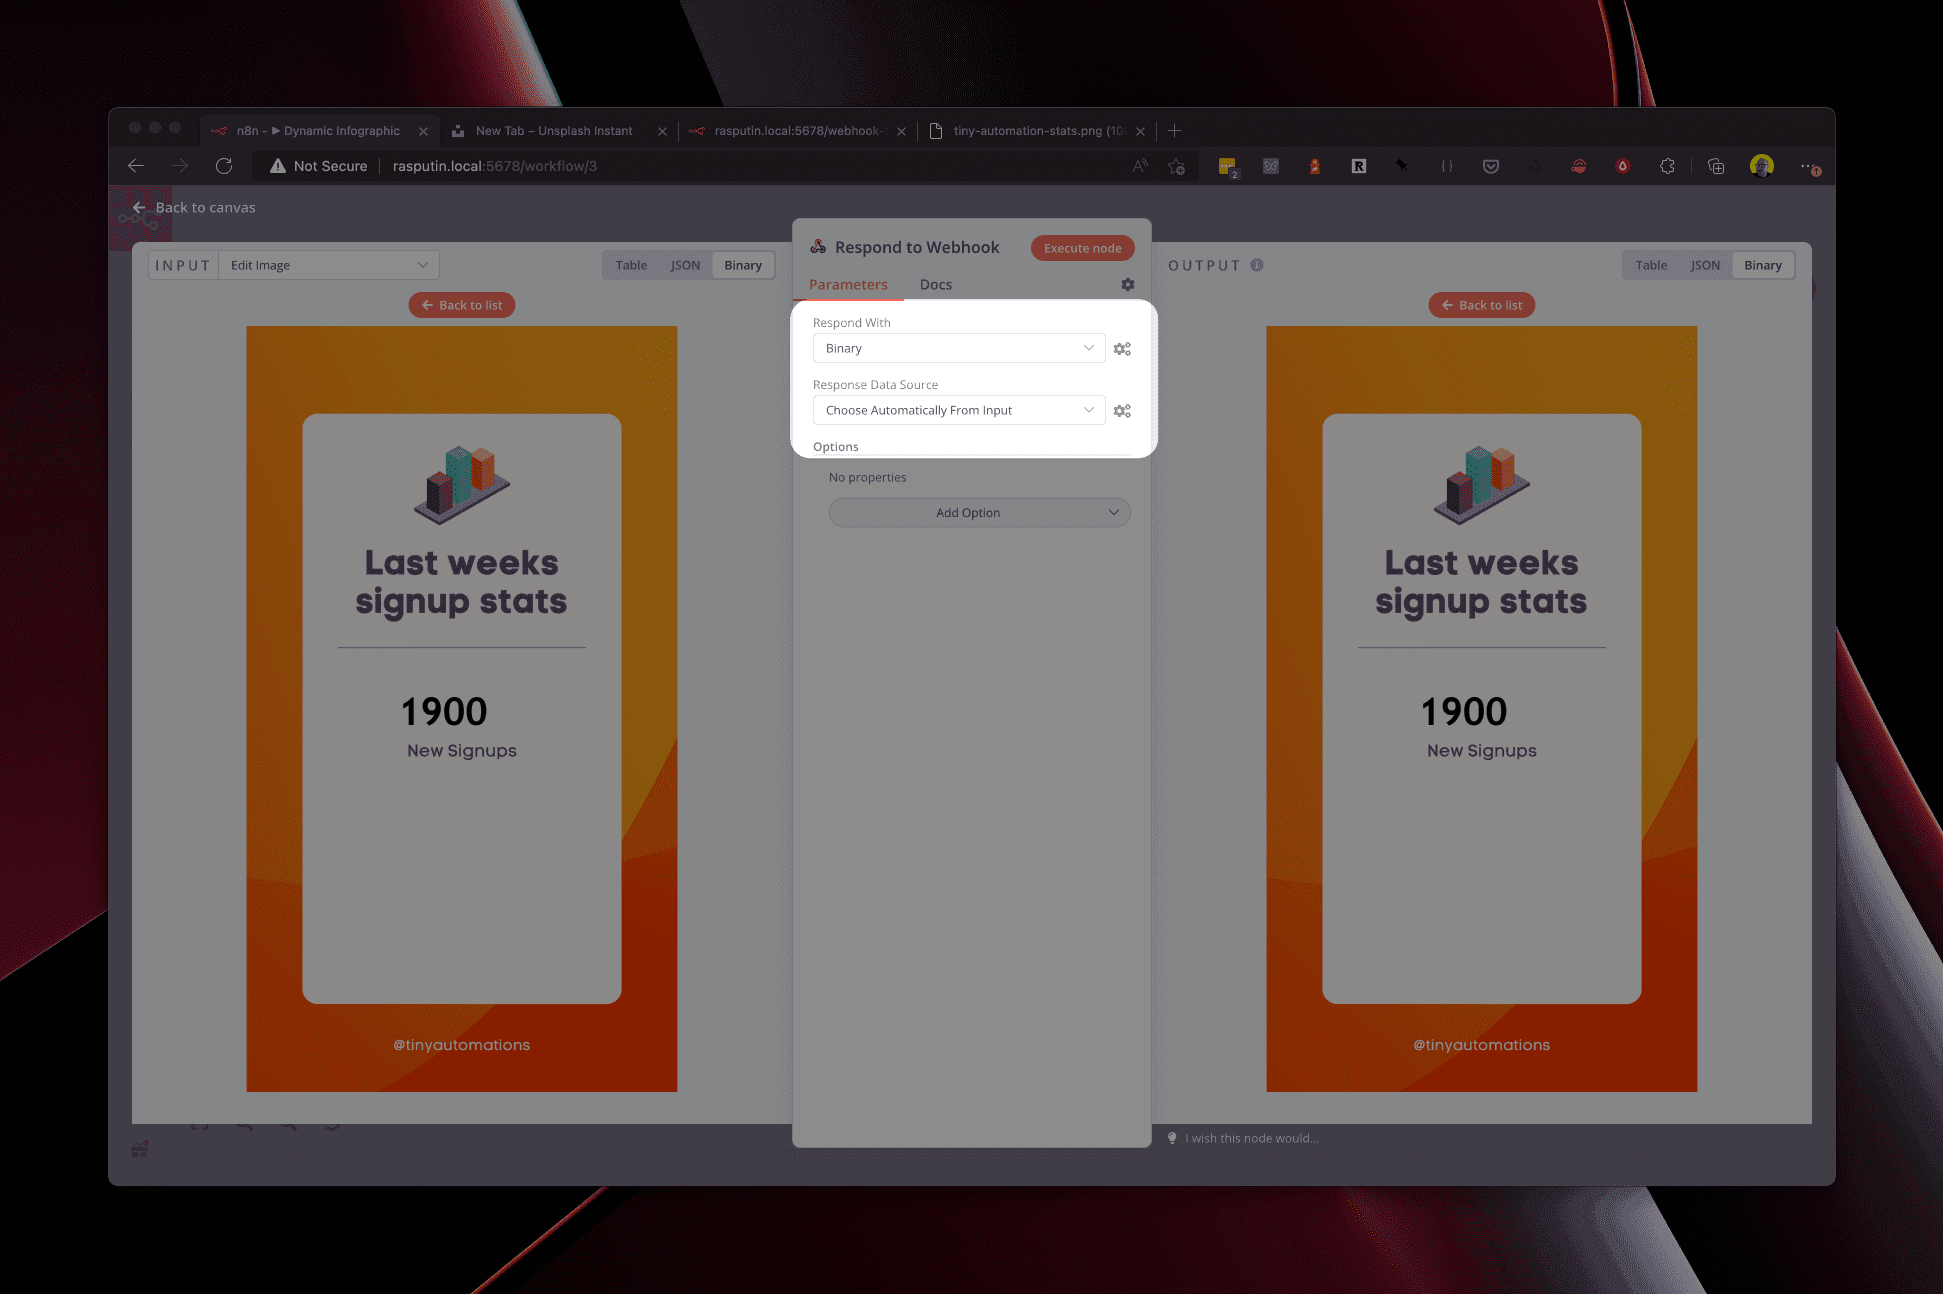
Now we have the image template (Step 3) and the stat value (Step 2) we can combine them so the image contains the stat value. We do this with an Edit Image node. Below you can see the image prior to the node being executed
on the left and after node execution on the right. As you can see we have added the value from stat (1900) to the image.
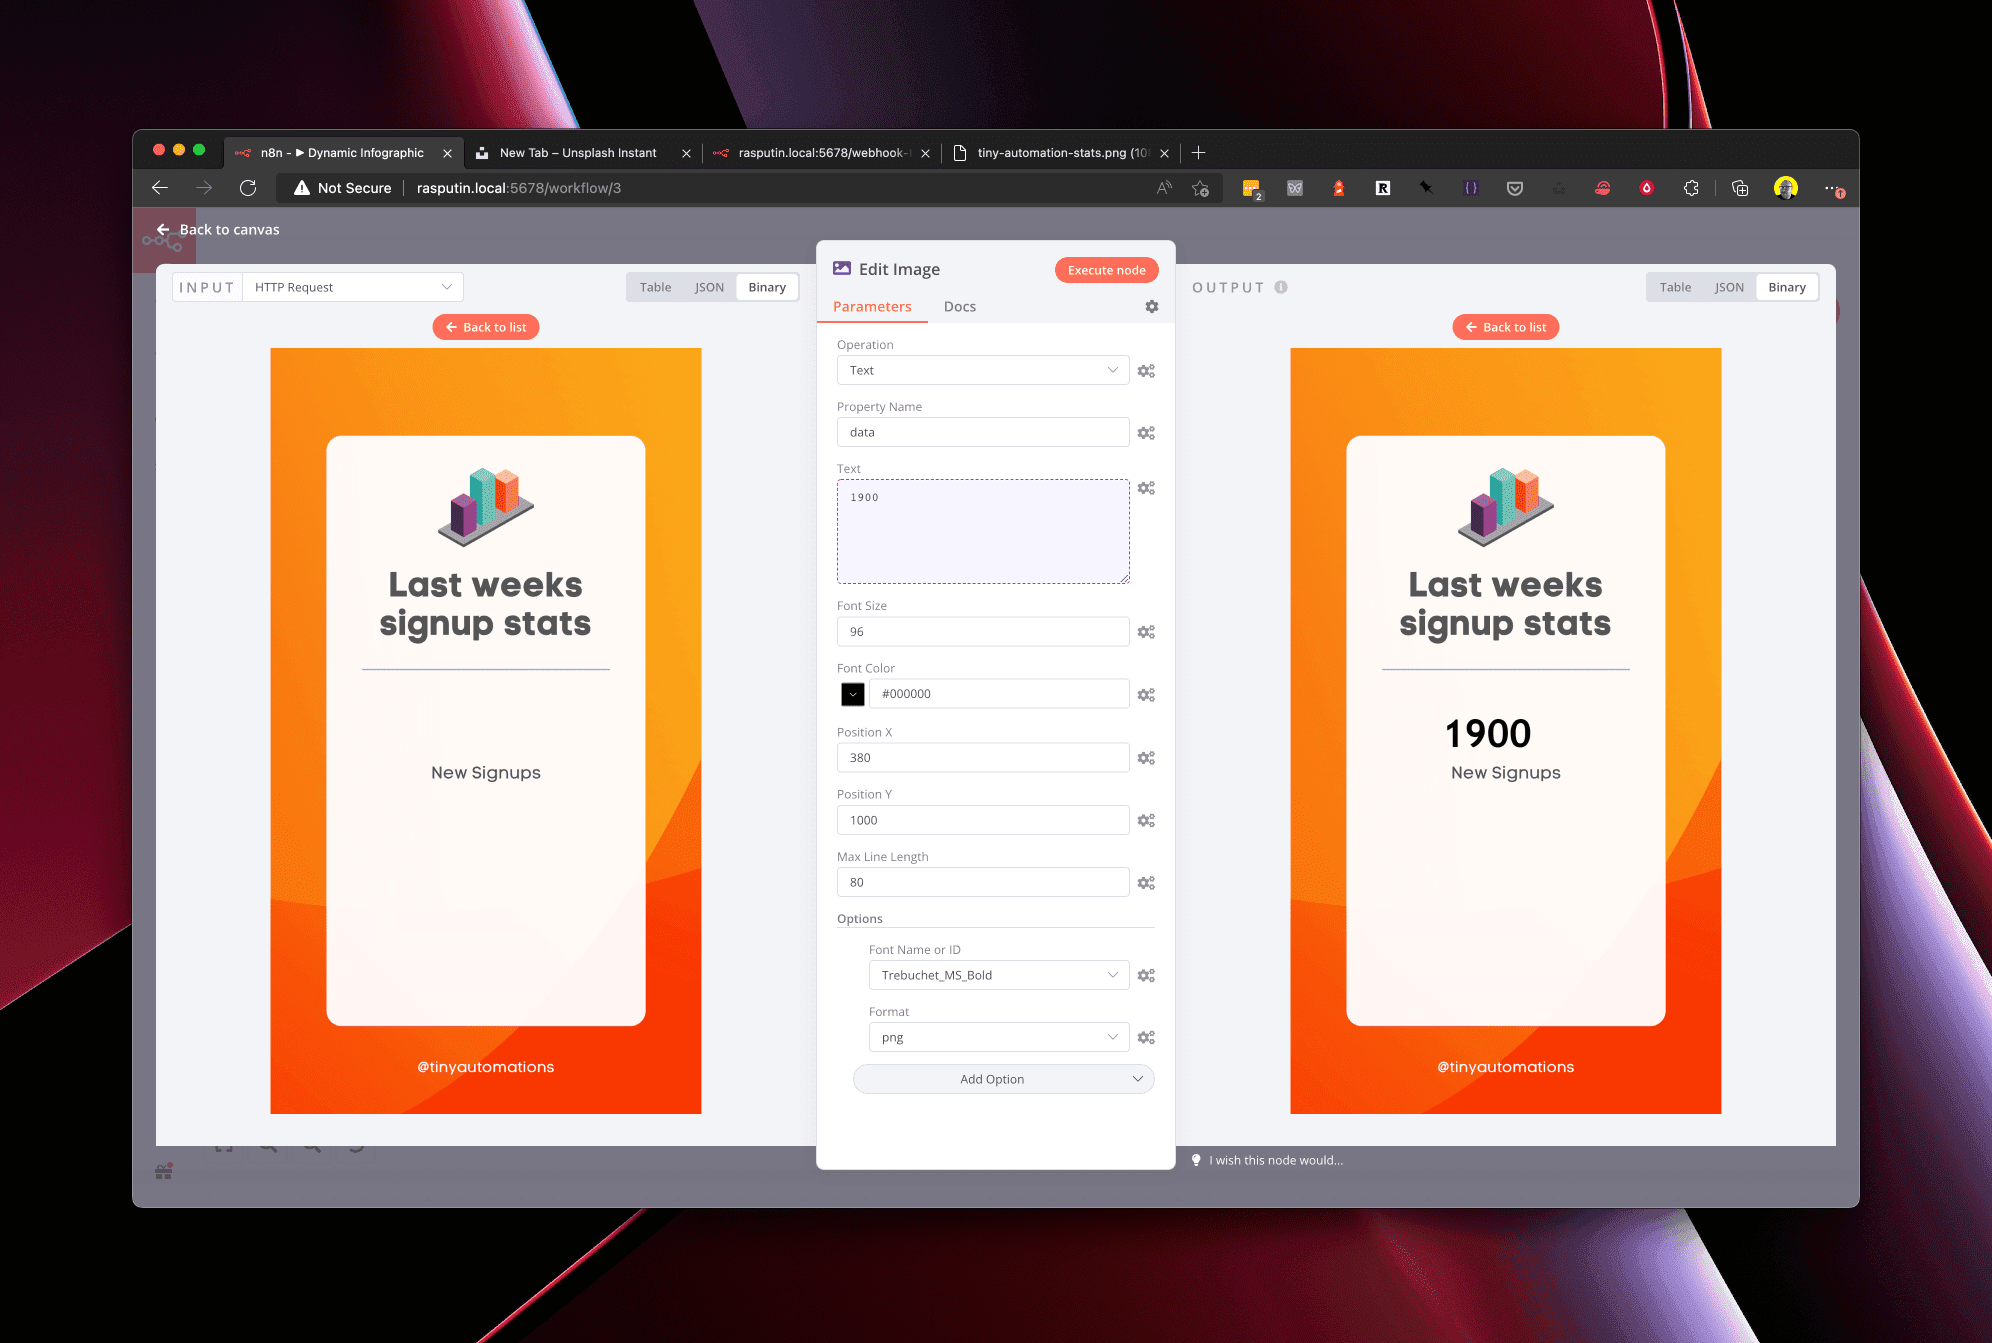
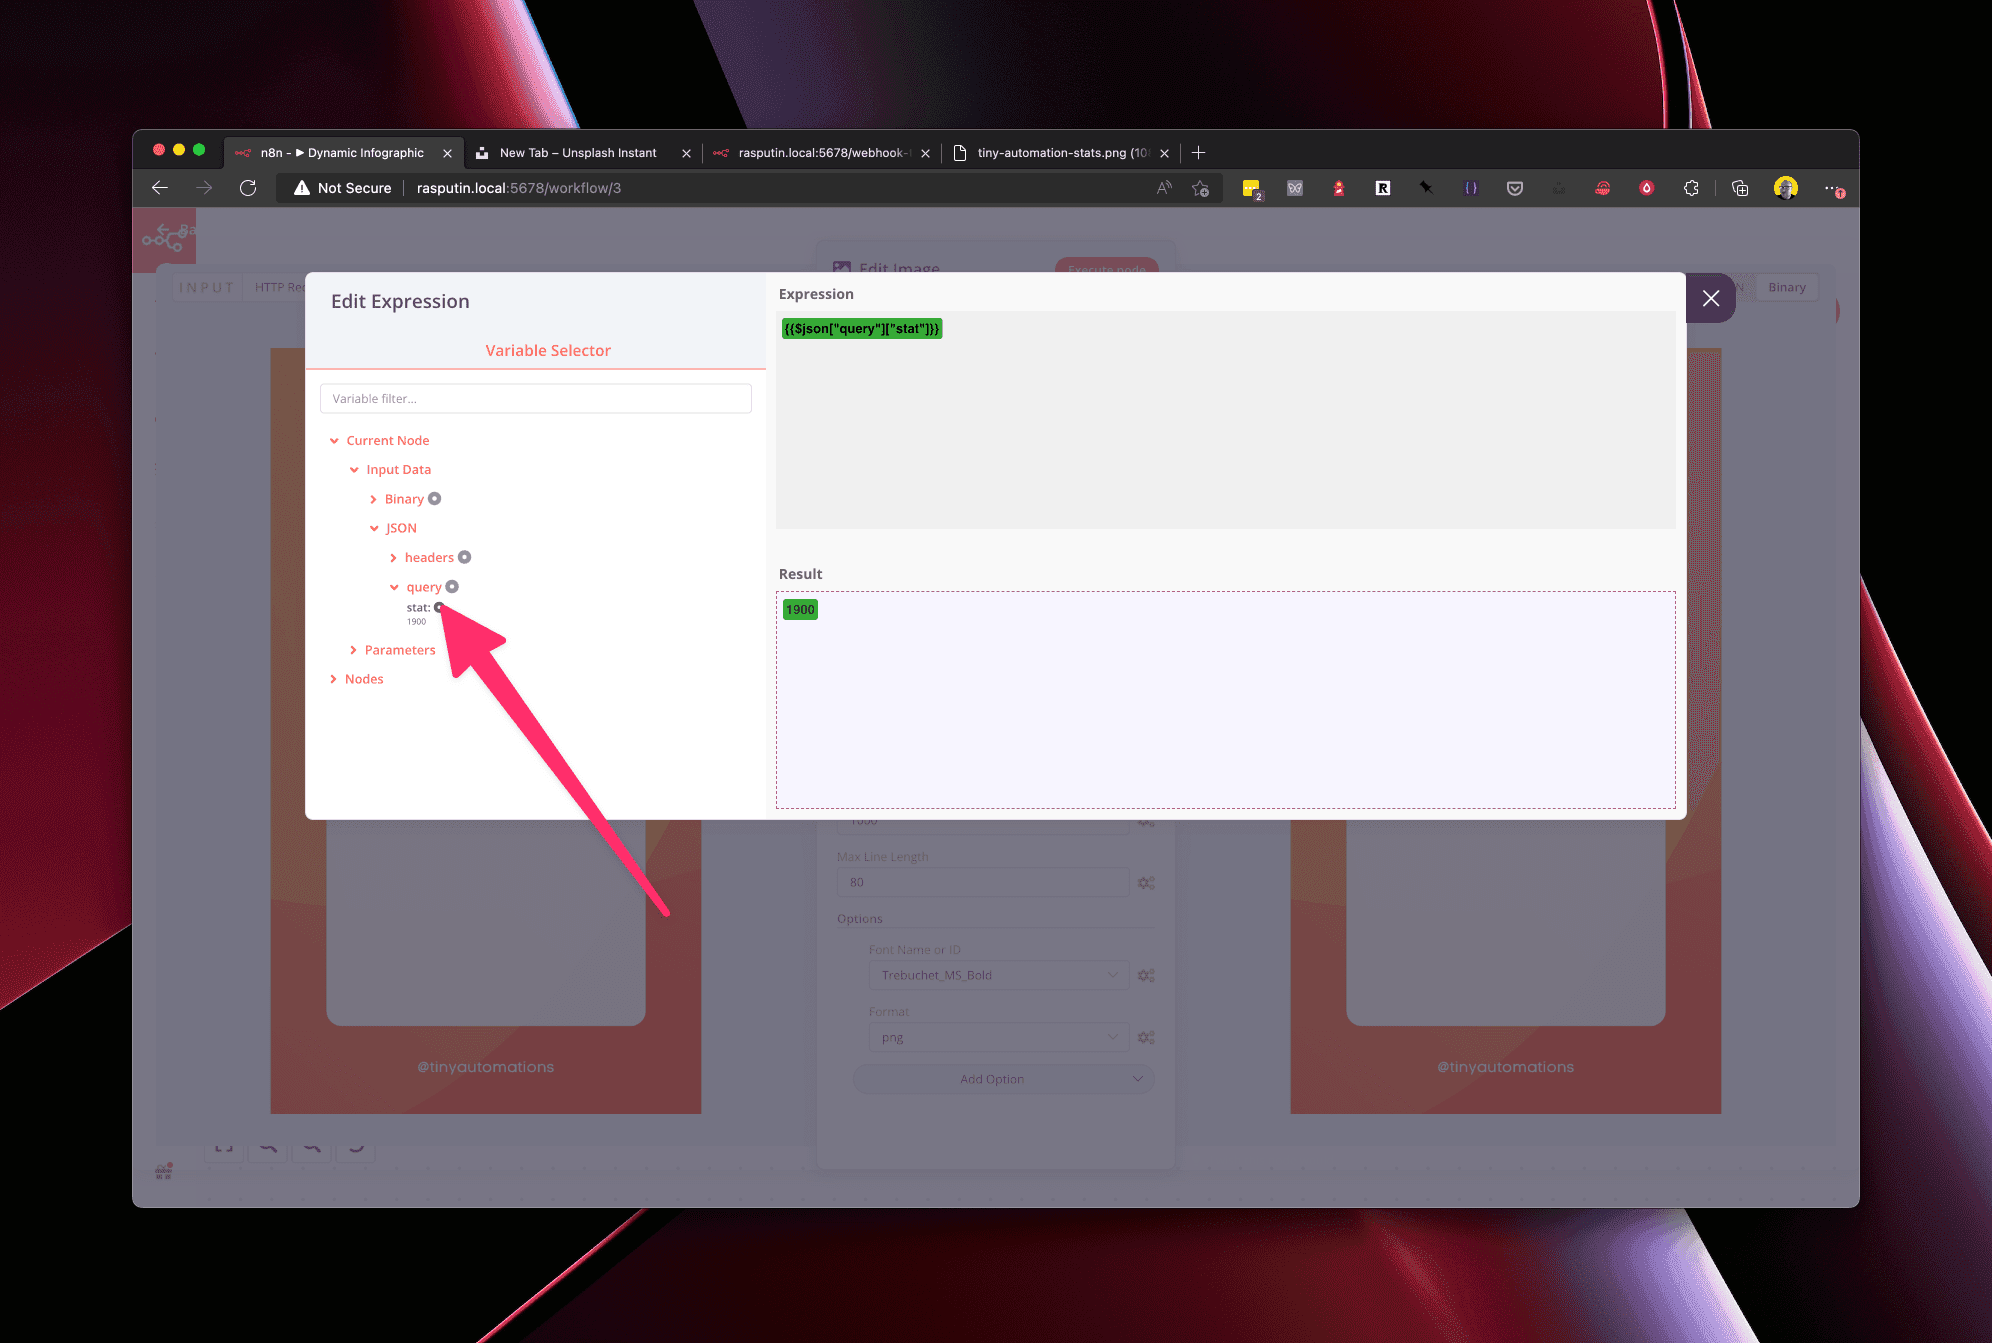
Use the Text input's Expression editor to select the querystring data from Step 2. The value we pass in when we call the URL is now used to generate the image.
Step 5: Return the finished image
The final step is to return the image to the user and end the workflow. We do this with a Respond to Webhook node. Make sure that Respond With is set to Binary and Response Data Source is set to Choose Automatically From Input.
Now save the workflow, set it to Active and hit the production URL of the initial Webhook with a query param.